
Set Up Your Netgear WiFi Extender Easily
Follow the simple online steps to configure your extender and enjoy smooth, uninterrupted WiFi at home.
New Extender Setup Made Easy
Setting up a mywifiportal WiFi extender can significantly enhance your home or office’s wireless network coverage, eliminating dead zones and ensuring a seamless connection throughout the premises. This guide will walk you through the setup process for various mywifiportal WiFi extender models and provide troubleshooting tips, advanced configurations, and optimization techniques.
Why Choose mywifiportal Extenders?
mywifiportal EX3110 (AC750)
- Access Setup Page:
- Connect to the extender’s default network (mywifiportal).
- Open a web browser and go tomywifiportal.site.
- Setup Wizard:
- Follow the on-screen instructions to select your existing WiFi network and enter its password.
- Complete Setup:
- The extender will connect to your network and extend the WiFi signal.
mywifiportal AC1200
- Plug In and Power On:
- Position the extender near your router and power it on.
- Connect via WPS Button:
- Press the WPS button on your router.
- Within 2 minutes, press the WPS button on the extender. The LED should turn solid green.
- Relocate and Optimize:
- Move the extender to a location with good signal coverage.
mywifiportal EX6120
- Initial Setup:
- Connect to the extender’s default network and access my wifi ext net.
- Follow the setup wizard to connect to your WiFi network.
- Manual Configuration:
- If you face issues, reset the extender and set it up manually using the mywifiportal installation assistant.
Other Popular Models
- mywifiportal EX7000 (AC1900)
- mywifiportal EX8000 (AC3000)
- mywifiportal N300
- mywifiportal EX3700
Follow similar setup steps for these models, ensuring you access the appropriate setup page and follow the on-screen instructions.
How to Set Up Your mywifiportalWiFi Extender

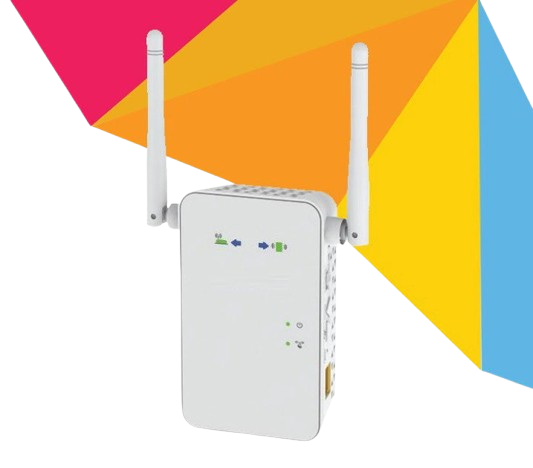
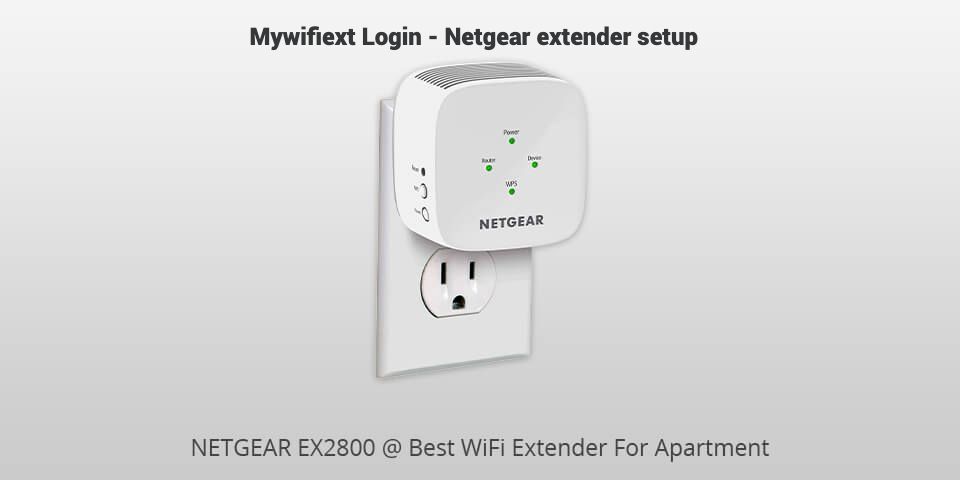
Unbox and Power Up
- Unbox Your Extender: Remove the extender from its packaging and place it near your WiFi router.
- Power Up: Plug the extender into an electrical outlet and wait for the Power LED to light up.
Connect to Your Device
- Connect to Default Network:
- On your computer or mobile device, connect to the extender’s default WiFi network
- Access Setup Page:
- Open a web browser and type my wifi ext net in the address bar. If this doesn’t work, you can use the default IP address.
- Log In:
- Enter the default username (admin) and password (password).
Setup Wizard
- Follow On-Screen Instructions:
- The setup wizard will guide you through the process of connecting your extender to your existing WiFi network.
- Create a New Network Name (SSID):
- You can choose to create a new SSID for the extended network or keep the existing one.
- Complete Setup:
- Once the setup is complete, the extender will reboot.
Relocate Your Extender
- Optimal Placement:
- Place the extender halfway between your router and the area with weak WiFi coverage.
- Check Signal Strength:
- Ensure that the extender’s signal strength LED indicates a good connection.
mywifiportal WiFi Extender
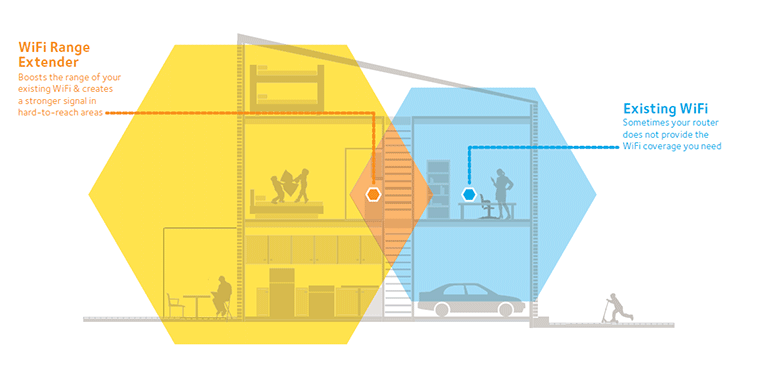
- What is a WiFi extender, and why do I need one?
A WiFi extender, also known as a WiFi booster or repeater, helps to extend the coverage area of your existing wireless network. It amplifies the WiFi signal from your router, allowing you to eliminate dead zones and enjoy a more reliable connection in areas with weak coverage.
- How do I connect my mywifiportal WiFi extender to my existing network?
- Step 1: Plug in and power up the extender near your router.
- Step 2: Connect to the extender’s default WiFi network using a computer or mobile device.
- Step 3: Open a web browser and type www my wifi ext net to access the setup page.
- Step 4: Follow the setup wizard to connect the extender to your existing WiFi network.
- What should I do if I can’t access the setup page at www my wifi ext net?
- Ensure your device is connected to the extender’s default network .
- Try using the default IP address) in the web browser’s address bar.
- Restart your browser and device, and try again.
- How can I optimize the placement of my mywifiportal WiFi extender?
- Place the extender halfway between your router and the area with weak WiFi coverage.
- Avoid placing the extender near electronic devices that may cause interference.
- Ensure that the extender’s signal strength LED indicates a good connection.
- What should I do if the WPS setup fails?
- Ensure both your router and extender WPS.
- Press the WPS button on your router and then on your extender within 2 minutes.
- If WPS setup fails, use the web interface for manual setup by accessing www my wifi ext net.
- How do I update the firmware on my mywifiportal WiFi extender?
- Log in to the extender’s web interface.
- Navigate to the firmware update section.
- Check for the latest firmware version and follow the on-screen instructions to update.
- How do I set up a guest network on my mywifiportal WiFi extender?
- Access the extender’s web interface.
- Go to the guest network settings section.
Troubleshooting Common Issues at Mywifiportal.site
Connection Issues
- Ensure Proper Range:
- Place the extender within range of your router’s signal.
- Reboot Devices:
- Restart your router and extender if you experience intermittent connections.
- Check Firmware:
- Ensure your extender’s firmware is up-to-date.
WPS Setup Fails
- Verify WPS Compatibility:
- Ensure both your router and extender WPS.
- Manual Setup:
- Use the web interface for manual setup if WPS fails.
Extender Not Found on Network
- Factory Reset:
- Reset the extender to factory settings and try the setup again.
- Correct Network:
- Verify you are connected to the correct default network
- Factory Reset:
Advanced Configuration
Guest Network Setup
- Log In:
- Access the extender’s web interface.
- Navigate to Settings:
- Go to the guest network settings.
- Configure Network:
- Set up a separate WiFi network for guests, ensuring security and privacy.
Firmware Updates
- Check for Updates:
- Regularly check the mywifiportal website for firmware updates.
- Update Firmware:
- Use the web interface to update the extender’s firmware for optimal performance and security.
Optimization Techniques
- Optimal Placement:
- Place the extender in an open space, away from obstructions.
- Avoid Interference:
- Keep the extender away from electronic devices that may cause interference.
- Channel Selection:
- Use the web interface to select the optimal WiFi channel, reducing interference from neighboring networks.
- Regular Reboots:
- Periodically reboot your extender and router to maintain a stable connection.

Mywifiportal.site
You don’t need to suffer from dead zones. With a , WiFi becomes accessible in every room—from the attic to the backyard. Whether you’re streaming your favorite show or attending virtual meetings, mywifiportal ensures a strong, reliable connection everywhere.
Follow the steps, tweak a few settings, and enjoy hassle-free high-speed internet throughout your home. A mywifiportal extender is not just a signal booster—it’s a connectivity enhancer that guarantees your internet reaches every corner where it’s needed the most. Invest today and experience the transformation of your digital life.
From casual browsing to professional tasks, mywifiportal WiFi extenders provide a stable, high-speed bridge between your router and your needs. Make the most of your internet plan by unlocking its full potential with the right extender setup. It’s simple, it’s effective, and it brings peace of mind in an increasingly connected world.
Your digital lifestyle deserves reliability and speed—and mywifiportal makes it all possible with just a few simple steps. Say goodbye to buffering and hello to seamless browsing.